DIY Guide: How to Install Landscape Lighting Like a Pro
Step 1: Planning Your Landscape Lighting
A great lighting design starts with a solid plan. Follow these steps:
1.Walk Your Property at Night: Take a flashlight and experiment with angles and placements to see what looks best.
2.Decide What You Want to Highlight:
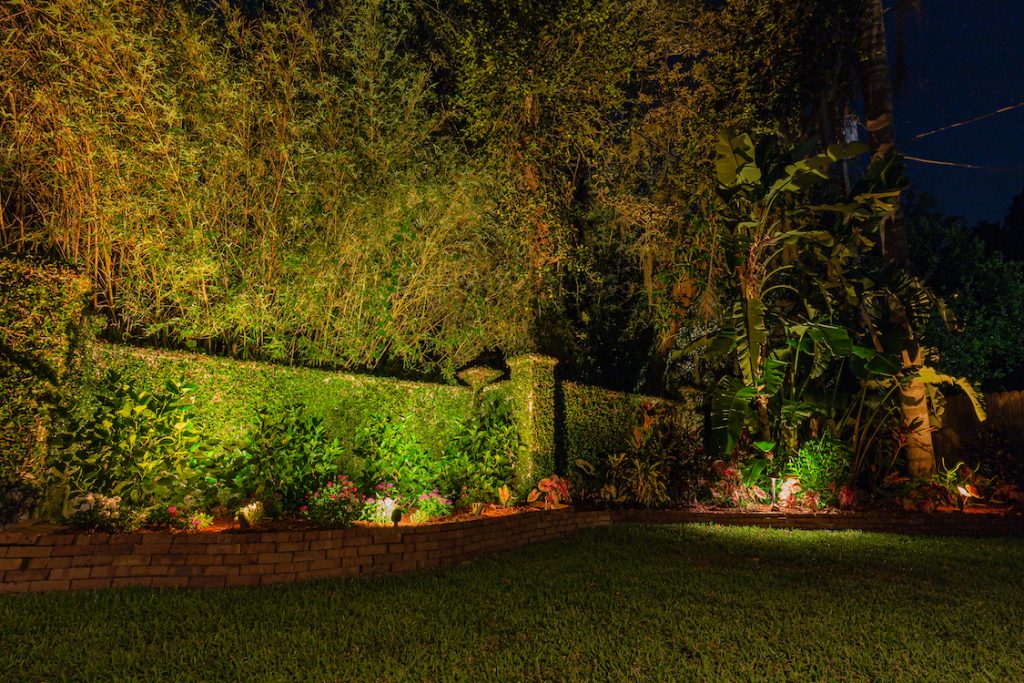
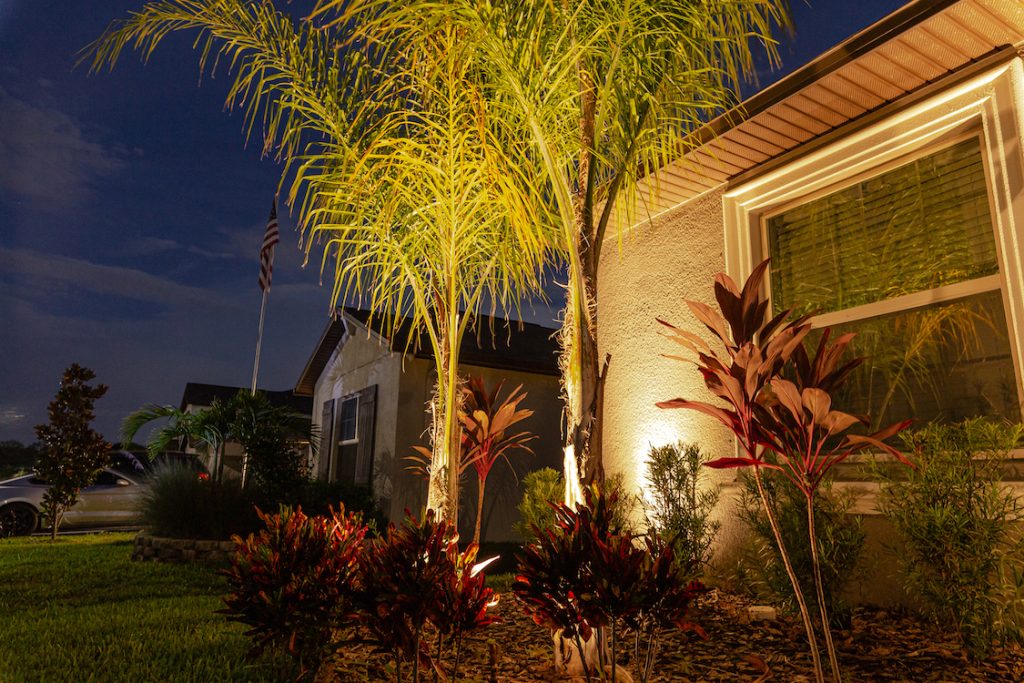
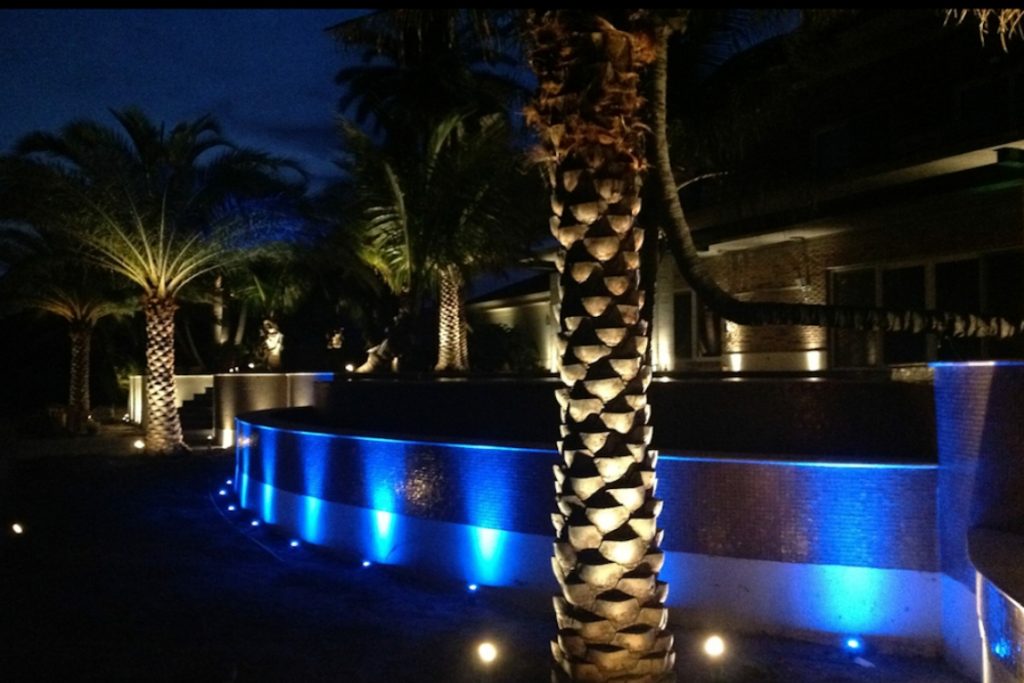
oTrees: Use uplighting to enhance their shape and size.
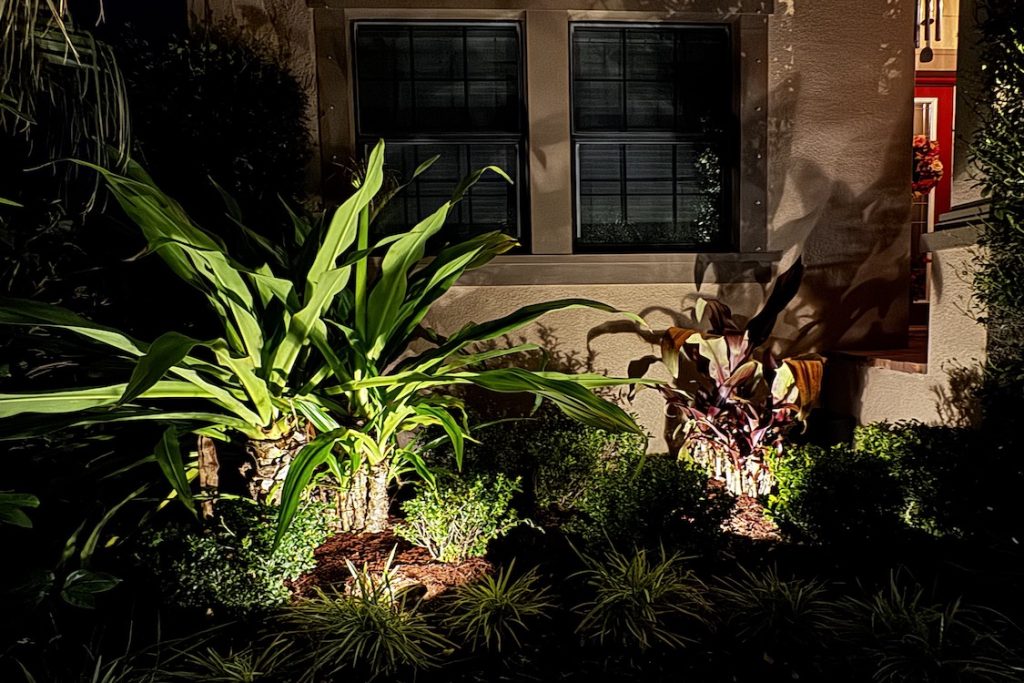
oPlants & Flower Beds: Use path lights or small spotlights for soft illumination.
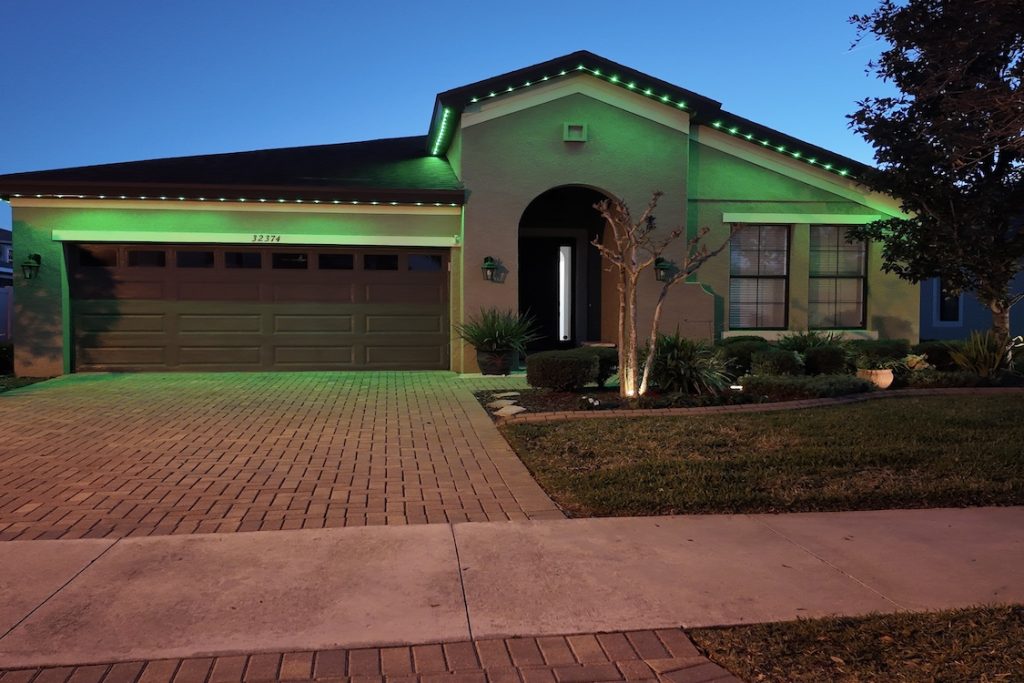
oHouse & Architecture: Use wall washes or grazing techniques to highlight textures.
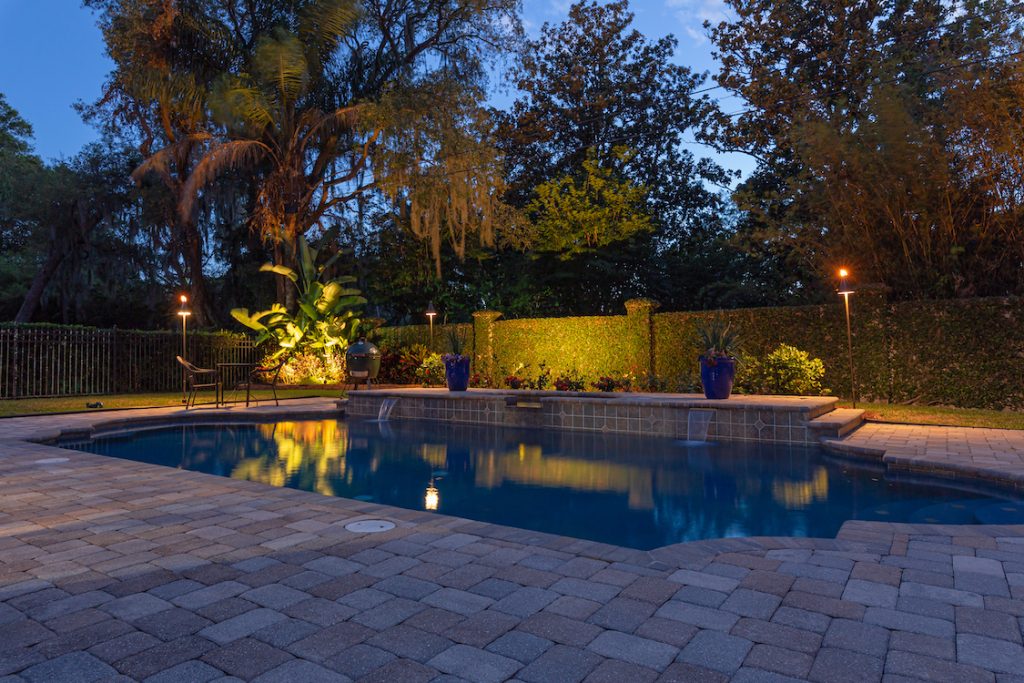
oWalkways & Driveways: Path lights should be staggered to avoid a “runway” effect.
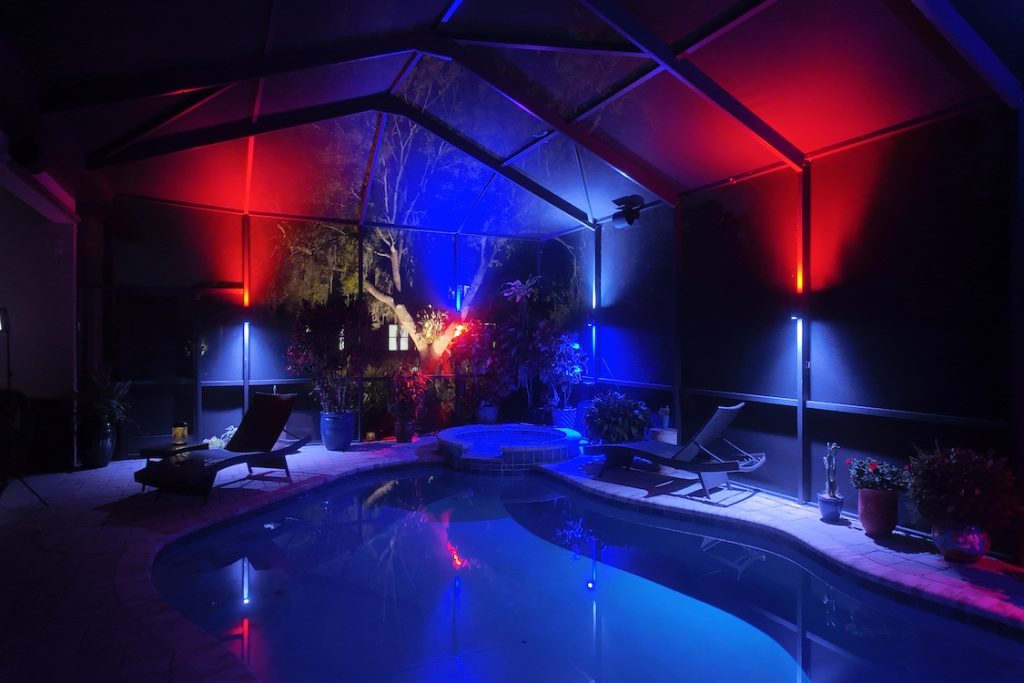
3.Determine the Effect You Want:
oDramatic: Use narrow beam spotlights (10°-24°).
oSubtle & Soft: Use wider beam spreads (35°-60°).
oWarm & Inviting: Use 2700K (warm white) color temperature.
oModern & Crisp: Use 3000K (pure white).
4.Sketch Your Design: Draw out your property and mark where you want lights.
Step 2: Choosing the Right Power Supply
Your lighting system runs on low voltage (12V), meaning you need a transformer to step down your home’s 120V power.
How to Pick the Right Transformer:
1.Add up the total wattage of your lights.
2.Choose a transformer that is 20%-30% higher than the total wattage.
oExample: If your total lights use 100W, get a 150W transformer.
Step 3: Understanding Voltage Drop & Power Distribution and Choose the Perfect Wire Gauge
Once you’ve decided the distance and total fixture wattage, it’s time to pick the wire gauge. The thicker the wire, the more voltage it can carry over longer distances. Here’s a guide to help you through this step:
16-gauge low-voltage wire: Ideal for short runs of 60ft and total wattage of up to 60W.
14-gauge low-voltage wire: Ideal for medium runs of 100ft and total wattage of up to 60W.
12-gauge low-voltage wire: Ideal for long runs of 200ft and total wattage of up to 60W.
10-gauge low-voltage wire: Ideal for extremely long runs of 300ft and total wattage of up to 60W.
As wire runs get longer, voltage can drop, causing dim lights at the end of the line.
Step 4: Picking the Right Fixtures & Bulbs
Your choice of fixtures and bulbs affects the final look.
Spotlights:
Best for: Trees, walls, focal points.
Beam Angles: 10°-24° for tall trees, 35°-60° for wide spreads.
Wattage: 3W-9W LEDs (equals 20W-50W halogen).
Path Lights:
Best for: Walkways, garden beds.
Spacing: 6-10 feet apart (avoid overcrowding).
Wattage: 3W-5W LEDs.
Well Lights:
Best for: Up-lighting trees and walls where you don’t want visible fixtures.
Hardscape & Wall Wash Lights:
Best for: Illuminating wide surfaces with soft, even lighting.
Color Temperature Guide:
2700K (Warm White): Great for homes, trees, and creating a cozy feel.
3000K (Neutral White): Best for modern homes and hardscaping.
4000K+ (Cool White): Not commonly used for residential projects.
Step 5: Laying Out the Lights Before Installing
Before committing to installation, set up your lights and test how they look.
How to Do This:
Place Fixtures Where You Planned: Set lights on the ground near where they’ll be installed.
Run Temporary Wiring: Use extension cords to simulate the lighting layout.
Turn On at Night: Look at how the lights interact and make adjustments before digging.
Step 6: Installing the Wiring & Fixtures
Laying the Wire
Run low-voltage wire from the transformer to each fixture.
Keep wires buried 4-6 inches underground for safety.
Use trench edging tools or a shovel to create a clean path.
Connecting Fixtures
Use waterproof connectors to prevent corrosion.
Make hub-style connections to reduce voltage drop.
Leave a little slack in the wire in case adjustments are needed.
Mounting the Transformer
Install the transformer near a GFCI outlet (at least 12” above ground).
Plug it in and test your connections before burying wires.
Step 7: Adjusting the Lights at Night
Once installed, fine-tune your lighting for the perfect look.
Adjust Angles:
Tilt spotlights to avoid glare and get the best highlight.
Check for Hot Spots:
If a fixture is too bright, consider using a lower-wattage bulb.
Reposition as Needed:
Small adjustments can make a big difference!
Need Help with Your Design or Products?
At Blue Line Exteriors, we sell high-quality professional-grade lighting and can help you with your custom design. Whether you need just the products or full installation, we’ve got you covered!